Welcome to The Advent Project!
To see all available days of this year’s calendar, you can press the Unlock button in the email we sent you or enter your code below.
Don't have a key? Get one here.
Thanks!
Unlocking the calendar...
The following material may not be appropriate for all ages and/or conservative workplaces.
If your child or boss is nearby, you might have some things to explain.

I remember learning to cut out snowflakes with giant safety scissors and printer paper, grinning ear-to-ear when the snowflake shape was revealed. I’ve created this craft to recapture that childlike joy with each unfolding snowflake. This year, bring a bit of the outdoors inside; hang each snowflake from a found object like a branch or evergreen bough. This timeless watercolor snowflake mobile will last beautifully all winter long.
Instructions (Online)

1. Set up your workstation
First, arrange all the items you’ll need to paint watercolor designs on your paper. Set out the cup of water and paper towel/rag to clean brushes. For extra seasonal spirit, light a candle!
2. Paint watercolor designs
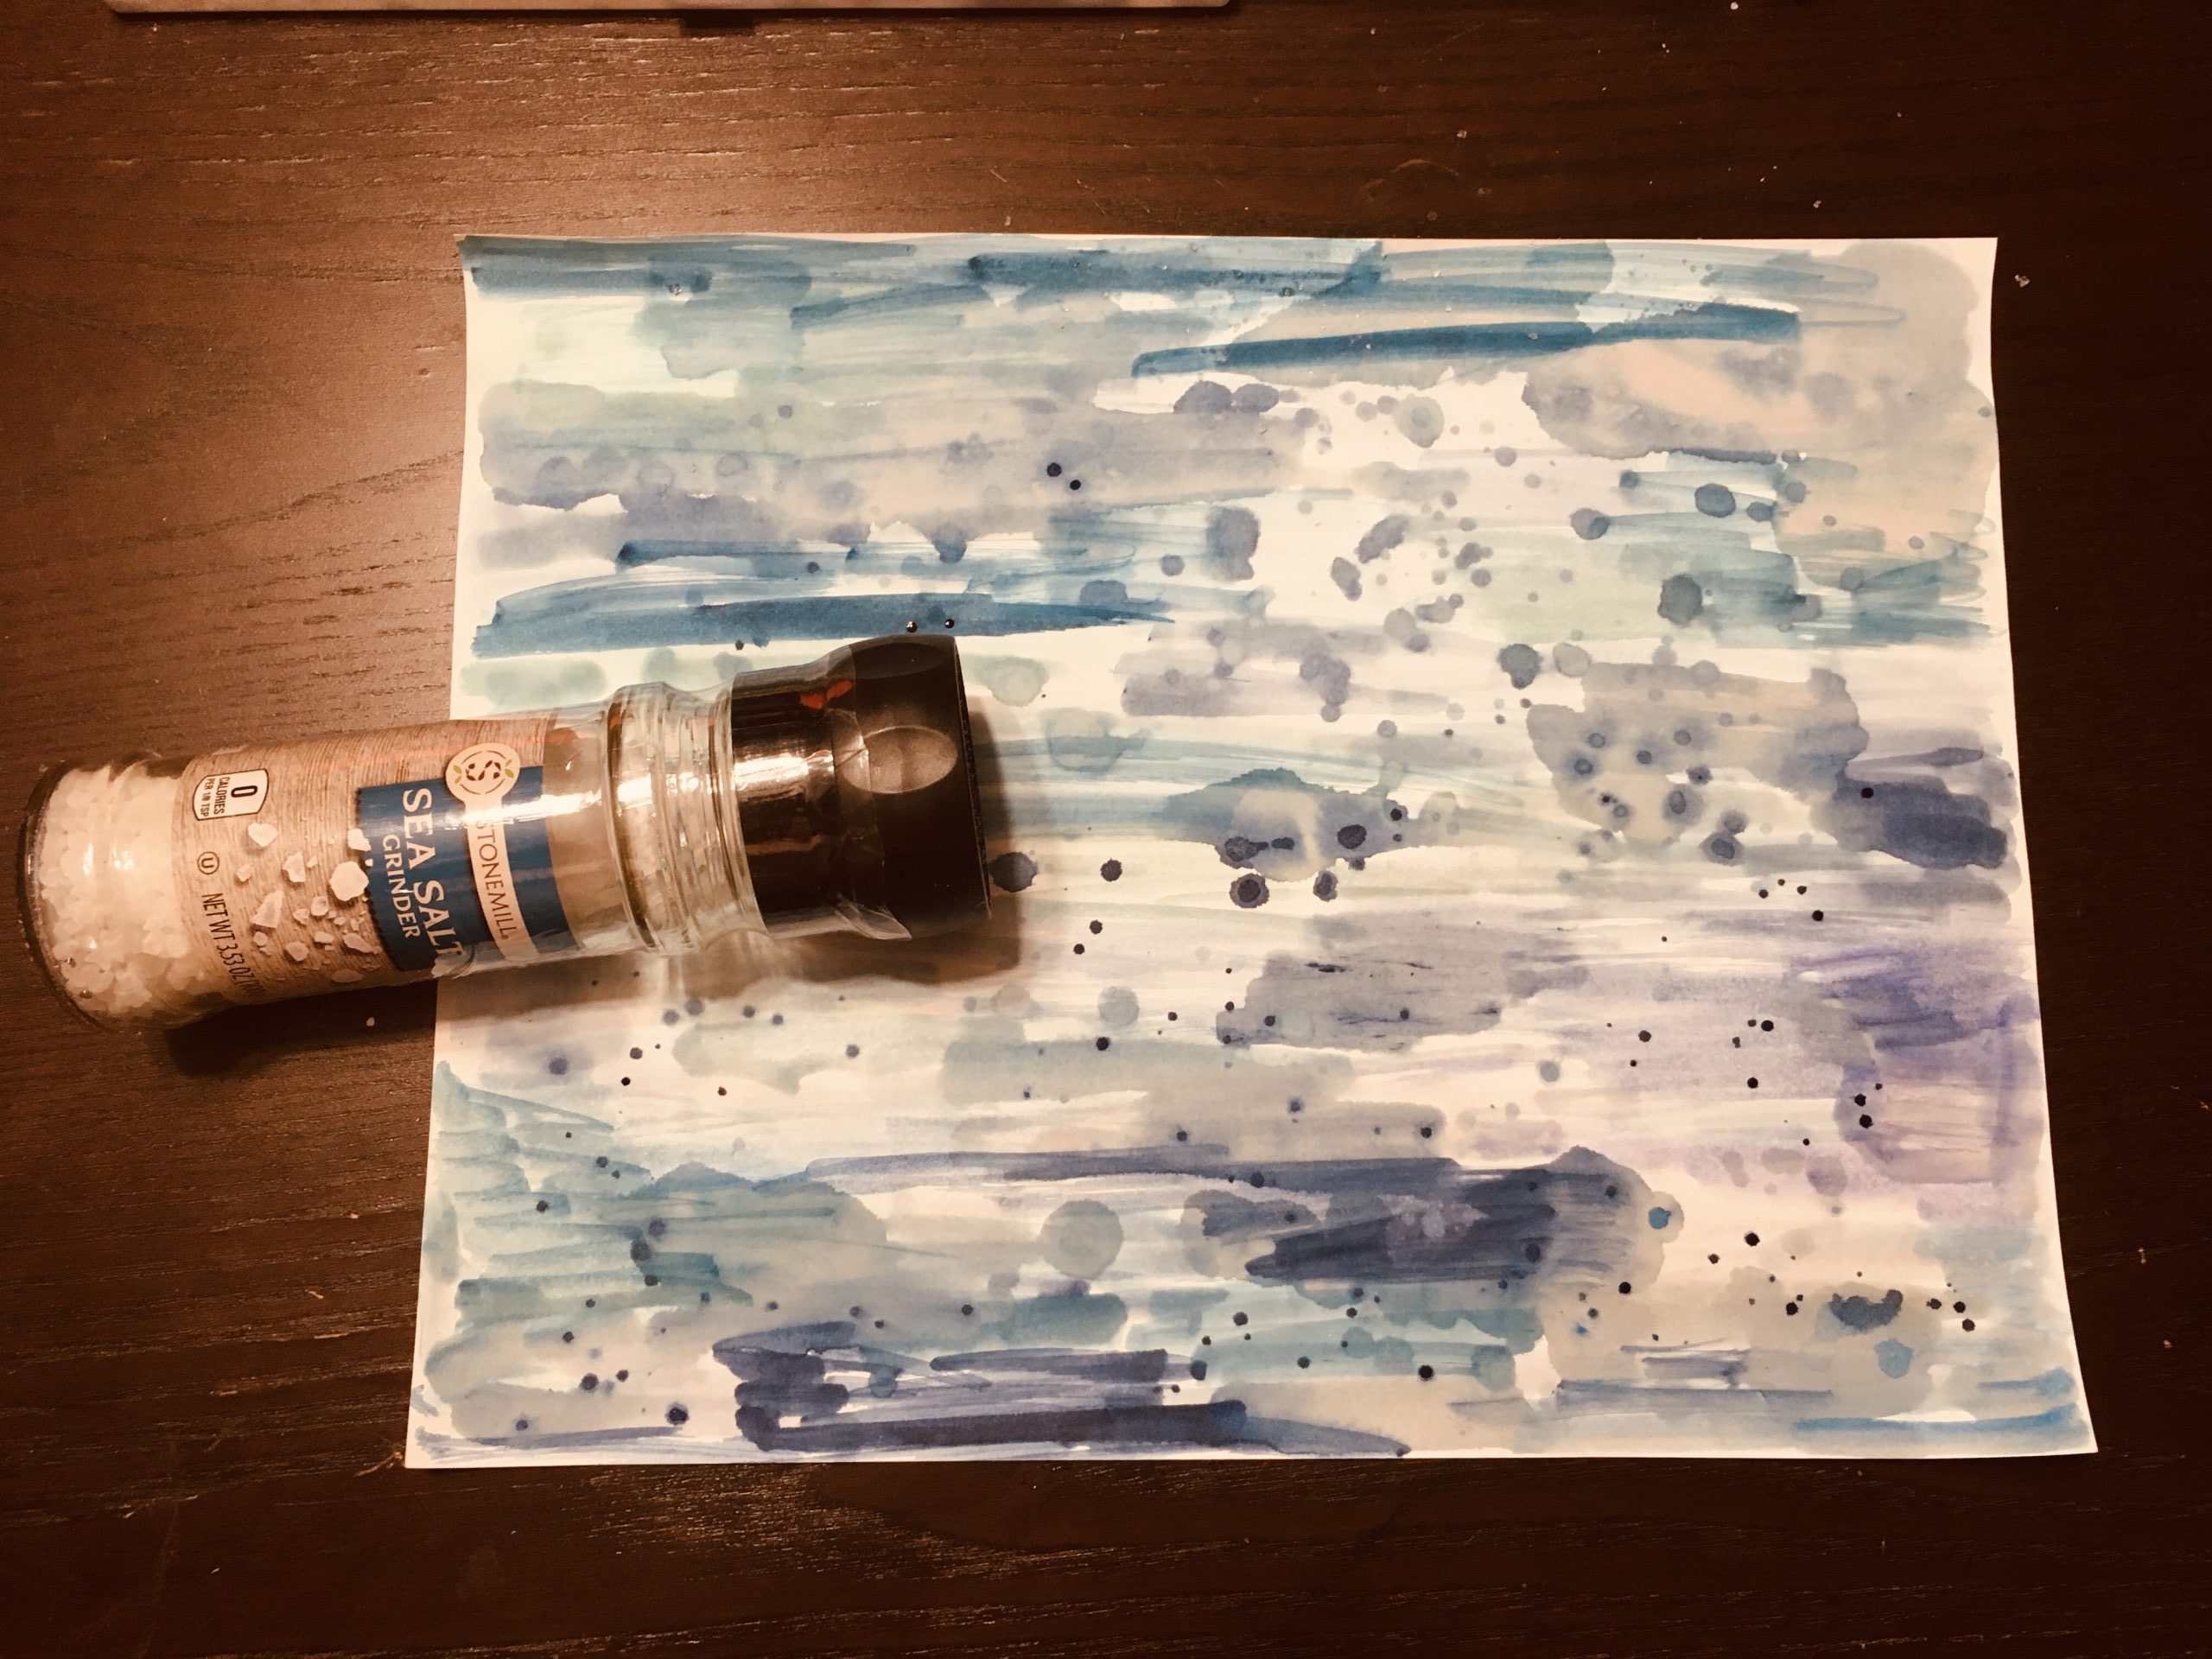
This is where you can get creative! Trying not to oversaturate the paper, splatter and brush the paint onto the page. For a frosty look, sprinkle coarse sea salt on your paint as it dries. Each page could be monochromatic, or you could venture out into each rainbow color.

3. Cut pages into square sizes
When your pages are fully dried (hint: a hair-dryer can be used to dry paint fast!), use a ruler to cut each page down into a perfect square — larger squares will yield a larger finished snowflake. 2 to a page at 5×5” is a good starting size.

4. Fold on the diagonal
Fold your square diagonally in half to create a triangle.

5. Fold in half
Fold the triangle in half to create a smaller triangle.

6. Fold into thirds
Fold the left side towards the back and fold the right side over the left, making sure that the edges of the right and left sections are flush against the middle section.

7. Cut your design
Draw out the design, making sure to leave the left and right sides connected at some point so the snowflake doesn’t fall apart upon cutting. More design ideas included below!

Optional: Press or iron your snowflakes
If you want to smooth out the fold-lines, you can press the finished snowflakes in a book or gently iron them under a tea towel.

Optional: For delicate-looking snowflakes
Instead of printer paper, use coffee filters for a more delicate look. You could try dip-dyeing with vinegar and food coloring (Easter egg method).

8. Unfold snowflakes
Marvel at the intricacies of each unfurling snowflake. This is the best part!

9. Gather items for construction
You’ll need to take a moment to rearrange your workstation and prepare for the construction phase. Cut your strings to your desired lengths, and find the object from which you’ll be hanging your snowflakes. Optionally, set up your glue gun.

10. Construct the mobile
Tie your string around a frond of your snowflake so the knot is on the white side instead of the painted side. Alternatively, carefully glue the end of your string to your snowflake. Tie other end of the string around the found object.
11. Hang your finished piece
Your finished mobile will look great in a window, above the mantel, or showcased as a focal point on a wall. Great work! My wish is that this mobile warms your home and brings you joy all season long!


